
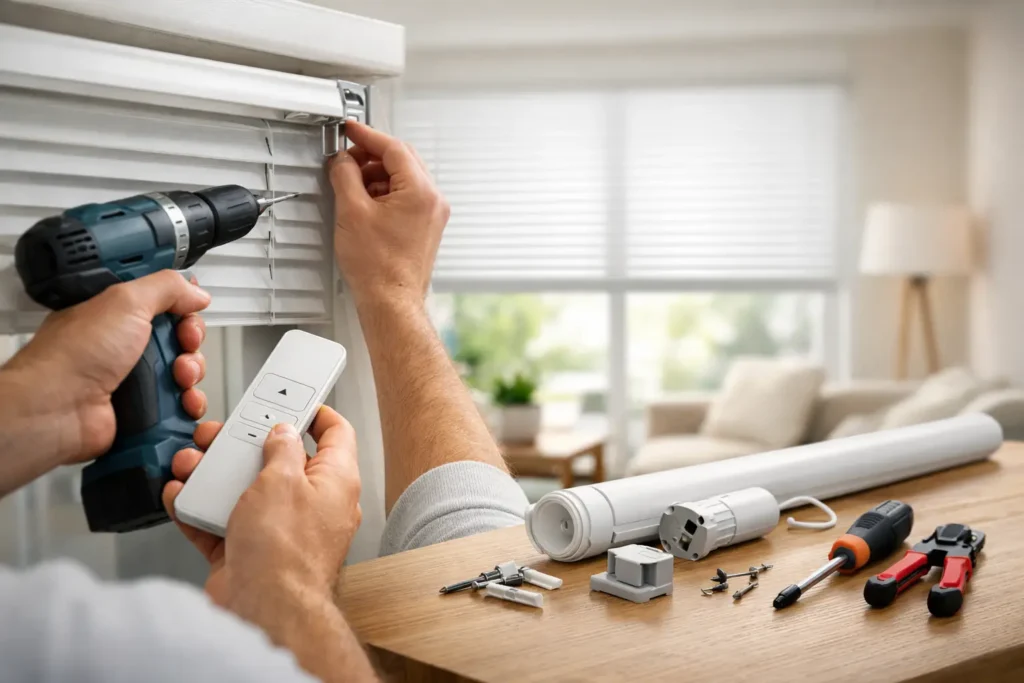
A motorized blind that stops short of the sill, exposes a sliver of light at the edge, or hangs slightly out of level can make an otherwise beautiful room feel unfinished. This motorized blinds installation guide explains the details that create a refined result, from selecting the right power source to setting the final open and closed positions.
Motorized blinds bring a practical kind of luxury to bedrooms, living rooms, offices, and hospitality spaces. With a remote, wall control, or smart-home command, you can manage glare, privacy, and daylight without reaching across furniture or handling cords. The installation, however, is not simply a matter of attaching brackets. Precise measurements, secure mounting, thoughtful wiring, and careful programming all affect how the blind performs every day.
Start With the Window and the Room
The right blind installation begins before a product is ordered. Consider what the room needs at different times of day. A bedroom may need blackout roller blinds for restful sleep, while a living area may benefit from light-filtering fabric that softens Dubai’s bright daylight without closing the room off completely. In an office, screen blinds can help reduce glare on monitors while retaining an outward view.
Decide whether the blind should sit inside the window recess or outside it. An inside mount delivers a neat, built-in appearance and keeps the treatment close to the glass. It only works when the recess has enough depth for the blind system and does not contain handles, alarms, or other obstructions that interfere with movement.
An outside mount is often the better choice for shallow recesses, wide windows, or stronger light control. Extending the blind beyond the window opening covers more of the wall around the frame, reducing side gaps where light can enter. It can also make a modest window appear larger and more intentional. The trade-off is that the blind becomes a more visible design feature, so fabric, cassette style, and bracket placement deserve extra attention.
Measure With Installation in Mind
Measuring for a manual blind is unforgiving; measuring for a motorized blind adds a few more variables. Width, height, recess depth, and the location of the motor must all be confirmed before fabrication. Taking one measurement in the center of a window is not enough. Walls and frames are not always perfectly square, especially in larger villas, renovated apartments, and commercial properties.
For an inside mount, measure the width at the top, middle, and bottom of the recess, then use the narrowest figure unless your supplier advises otherwise. Measure the drop in several places as well. Record the depth from the front edge of the recess to the glass, including any handles or protrusions. The headrail, roller tube, and brackets must fit without rubbing against the frame or preventing the window from opening.
For an outside mount, determine the desired overlap on both sides and above the window. The ideal allowance depends on the fabric and the level of privacy or blackout performance you want. A specialist will also check whether the wall or ceiling has a suitable fixing point. Mounting directly into weak plasterboard without the correct anchors is a common cause of loose brackets and sagging blinds.
Motor position matters too. Most systems can place the motor on either the left or right side, but the best side depends on access to power, nearby cabinetry, curtains, and the look of the finished room. Planning this early avoids an exposed cable in a carefully designed interior.
Choose the Right Power Option
A motorized blind can be hardwired, battery powered, or connected through a rechargeable motor. Each option has a place, and the right choice depends on the window, the number of blinds, and how much control you want.
Hardwired motors are an excellent option for new builds, major renovations, large window walls, and projects with several coordinated blinds. The wiring is concealed, the motor has continuous power, and the overall result feels exceptionally clean. Electrical points should be planned before wall finishing, wallpaper installation, or ceiling detailing. A qualified installer and electrician can coordinate cable routes so the technology remains invisible.
Battery-powered or rechargeable blinds are ideal where running new wiring would disturb finished walls or add unnecessary construction work. They are popular in apartments and single-room upgrades because installation is faster and less invasive. Batteries will need charging or replacement over time, particularly on larger or frequently used blinds, so accessible motor placement is helpful.
Solar charging can be useful on bright windows, though it depends on the window orientation and the available light. For a premium project, the most important question is not which power source sounds most advanced. It is which system will remain convenient and discreet after installation.
Follow a Professional Motorized Blinds Installation Guide
Once the blind has been custom made, installation starts by marking the bracket positions with a level. The brackets must be aligned exactly, spaced according to the manufacturer’s specification, and secured to a surface that can support the blind’s weight. Larger blackout rollers, wide blinds, and commercial systems may require additional support brackets.
Before the blind is clipped into place, check the mounting surface and the fixings. Concrete, wood, metal, and drywall each require different screws or anchors. Rushing this stage can result in a blind that appears level at first but shifts over time. For ceiling mounts, confirm that the bracket orientation allows the fabric to clear the window, handles, and any decorative molding.
After mounting the brackets, install the roller or headrail carefully and confirm it locks into position. The blind should sit centered, with the fabric rolling evenly and no contact against the recess or frame. If the fabric tracks to one side, the cause may be uneven brackets, an unlevel surface, or incorrect positioning. Do not rely on programming to solve a mechanical alignment issue.
The next step is connecting power and pairing controls. For hardwired units, this should be completed safely and in line with the motor specification. For battery systems, charge the motor fully where required before setup. Pair the remote, wall switch, app, or smart-home hub, then test basic movement before setting limits.
Set Limits, Scenes, and Everyday Controls
Limit settings tell the blind where to stop at the top and bottom. This is one of the small adjustments that makes a major difference to the finished appearance. A blind that stops too high leaves unwanted daylight at the sill. One that travels too far can strain the fabric, collide with the frame, or create an untidy roll at the top.
Set the upper limit so the blind retracts neatly without pulling fabric too tightly into the cassette or roller. Set the lower limit based on the desired coverage and the window’s features. In a blackout bedroom, the lower position should provide the strongest practical light block. In a living room, you may prefer a slight gap above furniture or a sill for a lighter visual effect.
Smart controls add another layer of comfort. You can group blinds in an open-plan room, create morning and evening schedules, or connect them to scenes such as “Movie Time” or “Away Mode.” Automation is most useful when it supports how the space is actually used. A simple remote may be ideal for one bathroom blind, while a whole-home system makes sense for a villa with multiple rooms and high windows.
When Professional Installation Is Worth It
Some compact, battery-powered blinds are suitable for confident DIY installation, particularly on straightforward windows with solid mounting surfaces. Even then, accurate measuring and careful leveling are essential. The risk rises when the project includes wide blinds, blackout requirements, recessed ceilings, hardwired motors, smart-home integration, or several windows that need to align perfectly.
Professional fitting is especially valuable when you want the blind to look built into the room rather than added after the fact. An experienced team can identify hidden obstacles, select correct fixings, conceal cables where possible, and make the final adjustments that protect both the mechanism and the visual finish. For commercial settings and hospitality projects, consistent alignment and reliable operation are also essential for daily use.
Elegant Blinds & Curtains can coordinate measurement, custom fabrication, motor selection, installation, and control setup in one considered service. That approach reduces guesswork while ensuring the fabric, hardware, and automation suit the room as a whole.
Before booking installation, have a clear idea of how you want to control light, privacy, and ambience in the space. A well-planned motorized blind should feel almost invisible in use: quiet, perfectly positioned, and ready when the room needs it.